
GIMP bump map tutorial
Scale your logo and create a new image
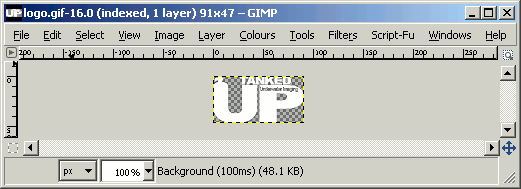
The first thing to do is decide what size you want your photos to be displayed at and how much space the logo will take up. Keep it small enough so as not to ruin the photo.
The logo for this tutorial is 91px × 47px, to fit into a 300px × 225px photo.
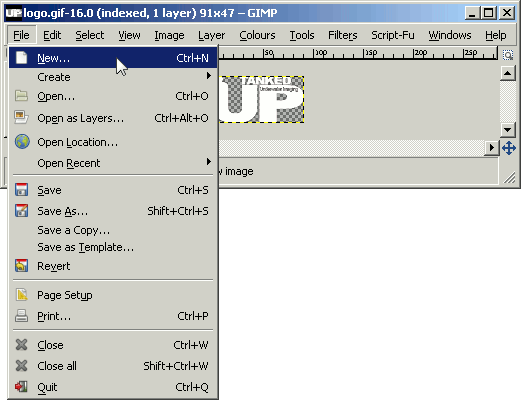
On the image toolbar create a new blank image
File » New
You can fill the new image by clicking the Advanced Options and choosing from the Fill with options.
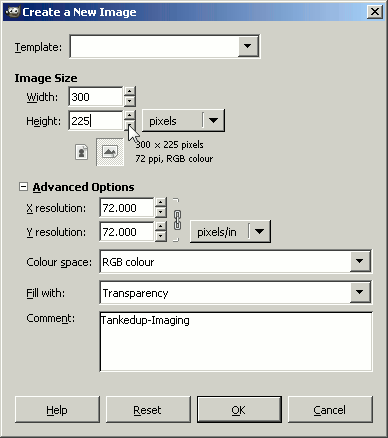
For this exercise the logo background is transparent, so choose a transparent fill for the new image.
Download GIMP 