GIMP gradient tutorial
Preamble
This tutorial has been updated for use with GIMP 2.6.
I have split the tutorial into two different levels.
The one on this page is for people reasonably familiar with the GIMP interface and image manipulation commands.
The second is for people with very little experience of image manipulation programs and GIMP particularly. This includes screenshots with tooltips for each step of the operations involved. Follow the title links for the more indepth tutorials.
Create the gradient
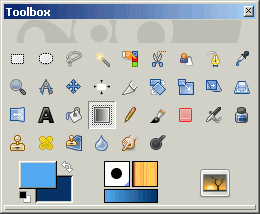
In the main GIMP toolbox double click on the Fill with a colour gradient.
This opens the Gradient options box, here you are presented with various options for your gradient.
If you click on Gradient a dropdown list of set gradients will appear that you can use for your image. The default is FG to BG (RGB), which we will use here.
Double click on the Foreground colour in the main GIMP toolbox and pick or type in the hexadecimal code for the colour you want in the Change foreground colour option box.
Now double click on the Background colour in the main toolbox and choose the colour you wish to graduate to.
Save the gradient
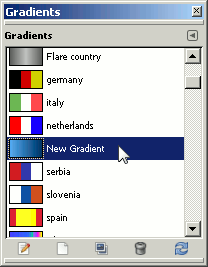
If the gradient is one that you are likely to use frequently click on the Gradient dialogue button on the main toolbox. Right click on the highlighted gradient, FG to BG (RGB) in this case and select Duplicate Gradient.
This opens the Gradient Editor dialogue. Rename the gradient in here and save it. It will now appear on the dropdown list of gradients.
Applying the gradient to your image
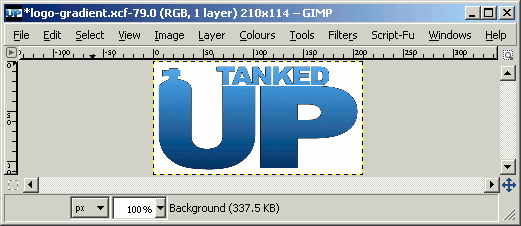
Open the image you wish to apply the gradient to. Click on the Select regions by colour on the main toolbox and select the colour on the image you want to apply the gradient to.
Reselect the Fill with a colour gradient and position the cursor where you wish to start the gradient. Click on the image, hold the mouse button down, move to where you want the gradient to end and release the mouse button.
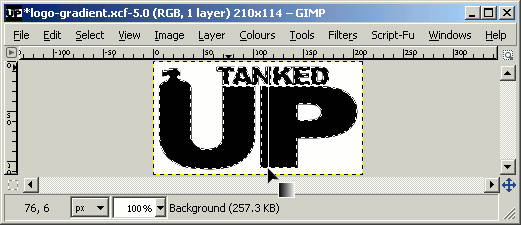
The image should now have your gradient applied to it. Note that the foreground colour is your start of gradient and the background is your end point. The gradient will go in any direction that you want, experiment with it.
Using css to apply a background gradient
Ok, so now you know how to create and save your gradient. You can also now apply it to an image, but a very popular use for gradients is using them as a background for your web pages.
For an explaination of how to do this go to the css background gradient tutorial.
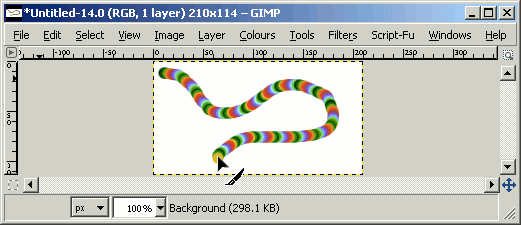
Freehand brushed gradients
If you want to use a freehand gradient, follow these instructions.
Click on the Paintbrush, Pencil or Airbrush tool on the GIMP toolbox, to make it active.
Then in the active window open the Tool Options dialogue
Windows » Dockable Dialogs » Tool Options
In the Tool Options dialogue click on the Use color from gradient option to make it active and change the various options to suit the size and type of gradient you wish to apply.
