Using GIMP bump map tool as a watermark for photos
Preamble
This tutorial has been updated for use with GIMP 2.6.
I have split the tutorial into two different levels.
The one on this page is for people reasonably familiar with the GIMP interface and image manipulation commands.
The second is for people with very little experience of image manipulation programs and GIMP particularly. This includes screenshots for each step of the operations involved. Follow the title links for the more indepth tutorials.
The Bump Map Tutorial
Scale your logo and create a new image
The first thing to do is decide what size you want your photos to be displayed at and how much space the logo will take up. Keep it small enough so as not to ruin the photo.
The logo for this tutorial is 91px × 47px, to fit into a 300px × 225px photo.

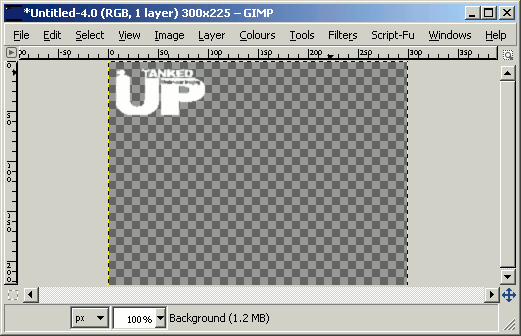
In the active window create a new blank image
File » New
You can fill the new image by clicking the Advanced Options and choosing from the Fill with options.
For this exercise the logo background is transparent, so choose a transparent fill for the new image.
Copy logo and paste into blank image
In the logo image copy the logo
Edit » Copy
Paste the logo into the new blank image
Edit » Paste
The logo is now floating in the blank image.
Position the floating logo
From the main GIMP toolbox select the Move Tool.
Click on the floating logo and move it to the position required.
To anchor the logo in this position, click on the blank image (outside of the logo).
Create a Gaussian blur
Apply a Gaussian Blur to the image, this softens the edges of the logo on the finished bump mapped image.
Filters » Blur » Gaussian Blur
The default Blur Radius values that will come up in the Gaussian Blur toolbox are 5.0px for the Horizontal and Vertical values. This was too blurred for a watermark, so we adjusted them down to 1px for our images, but feel free to experiment.

You can now save the complete logo template. We found that saving it in GIMP's native .xcf format worked best for preserving the logo's blur effect.
That's the hard work done, now that you have the template it's pretty straight forward to use the bump map tool to watermark your photos.
Copying the logo template into photo for bump mapping
Open the photo image you wish to apply the bump map to, then copy the logo template and paste it into the photo image.
Using the layers dialogue
In the active window, open the layers dialogue
Windows » Dockable Dialogs » Layers
In the layers dialogue double click on the Floating Selection (Pasted Layer) and rename it anything you want. Now select the photo image layer below your logo.
Bump mapping the photo
In the photo image apply the bump map
Filters » Map » Bump Map
When you are presented with the Bump Map dialogue, select the logo layer in the Bump Map option box.
Make sure Compensation for darkening is ticked, it is by default, but check anyway.
The white logo will bump or raise the photo image, if you want a hollowed impression select the Invert bumpmap option.
The adjustments we have made for our images are as follows :
Azimuth : 50.00
Depth : 2
Waterlevel : 100
All the other options have been left at their default values.
If you tick the preview option you can see how each option changes the bump map. When you are happy with the result click ok.
Deleting the logo layer and the finished photo
Now when you look at the photo you see nothing has happened and only the logo is showing!
Don't panic 
Go to the layers dialogue and click on the eye to the left of the logo layer.
This turns off the layer and your bump mapped photo should now appear.
If all is well you are now free to select the logo layer and delete it.

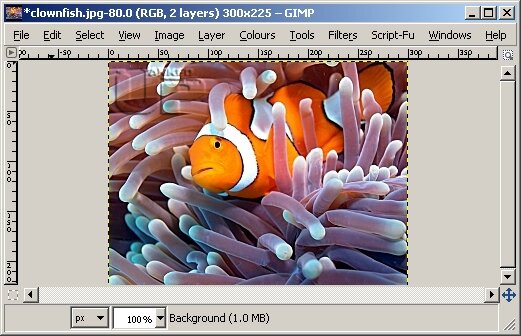
And that's it. You now should have a watermarked photo using GIMP bump map tool.
The finished full size image can be seen in the Australian photo gallery, as I reduced the image size and quality for this tutorial.
Now that you have your logo template saved, you can jump straight in at stage five for any future projects.
Bump map with drop shadow.
For a good example of using the bump map and drop shadow to good effect take a look at the Dahab map page.
