GIMP bump map tutorial
Deleting the logo layer and the finishing the photo
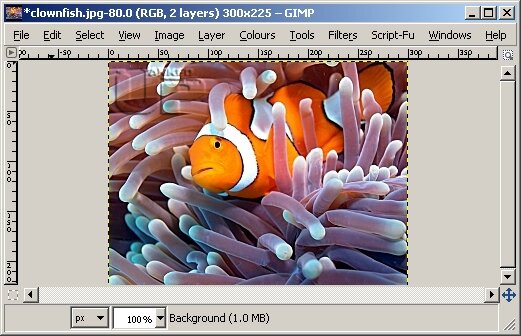
Now when you look at the photo you see nothing has happened and only the logo is showing!
Don't panic 
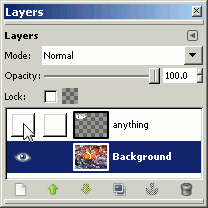
Go to the layers dialogue and click on the eye to the left of the logo layer.

This turns off the layer and your bump mapped photo should now appear.

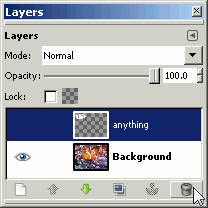
If all is well you are now free to select the logo layer and delete it.

And that's it. You should now have a watermarked photo using GIMP bump map tool.
The quality of the image above isn't too great, due to it being compessed to keep the size down for this page. If you want to see the real deal it's in the Australian photo gallery.
Now that you have your logo template saved, you can jump straight in at stage five for any future projects.
I hope this has been helpful, a bit over long maybe, but I'm assuming no image manipulation experience at all in this part of the tutorial. Once you have mastered the interface controls on GIMP, things will get a lot easier believe me ![]()
