Contrast mask tutorial · 4
Adjust overlay opacity and save the image
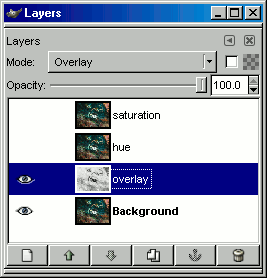
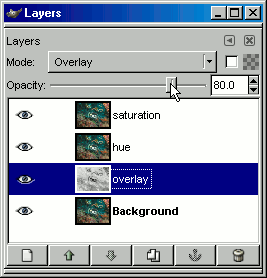
At this stage you can play with the Opacity of the overlay layer in the layer dialogue. 80% opacity is a good starting point, but tweak it until it looks ok. Alternatively you could duplicate this layer to brighten the image even more.


Turn on the hue and saturation layers. These two layers are kept so that the colour information is natural to the background image. If you feel they enhance the image keep them, otherwise feel free to delete them. If you want to know more about hue and saturation there is a full tutorial at Cambridge in Colour.
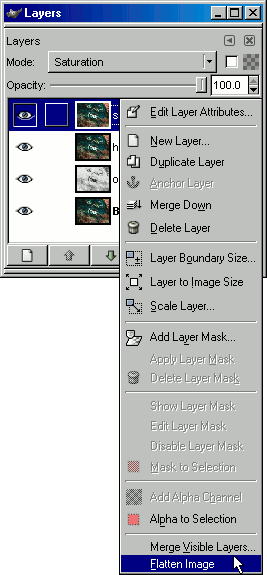
When you have achieved the result you want you can right click on any of the layers and choose Flatten Image and then save the image.

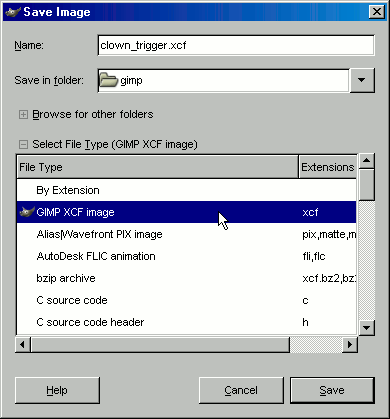
If you are not sure or want to work on the image again later, save the image in GIMP's native .xcf format. This saves all the layers and information, except for the undo history. Be warned though, these files are BIG, make sure you have plenty of hard disk space if you are doing this with lots of images.

